The back and sides are now assembled. Notice the notches in the top kerfing to receive the braces of the top. The fitting of the top is done before the back is glued to the sides.
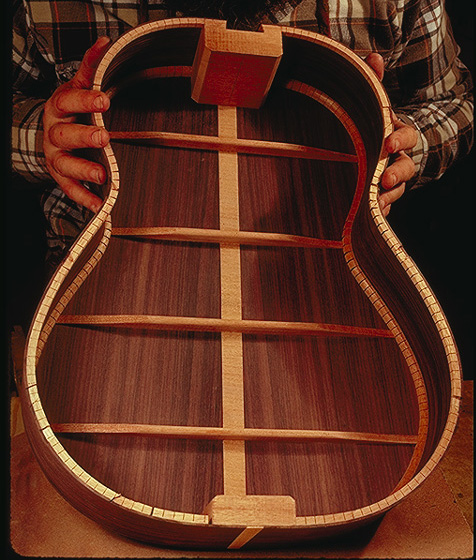
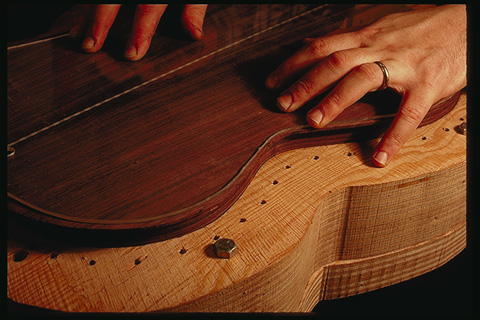
| The edges of the sides and the tail and heel blocks are shaped to receive the back. Remember that the back is arched so that the sides have to be lowered in order to accommodate the maximum curvature of the back at the bouts. The back has a compound curve both across its width and along its length. This means that the tail and heel blocks need to be shaped to fit the curve. | |
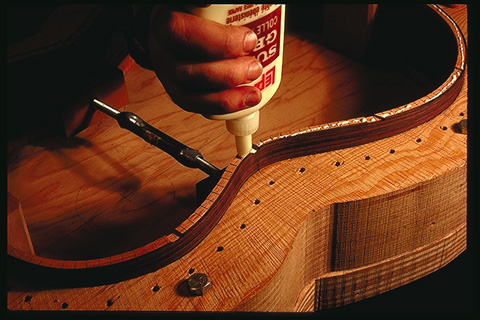
| Glue is applied to the top of the kerfing and sides. Notice that the kerfing is notched where the braces of the back will fit. | |
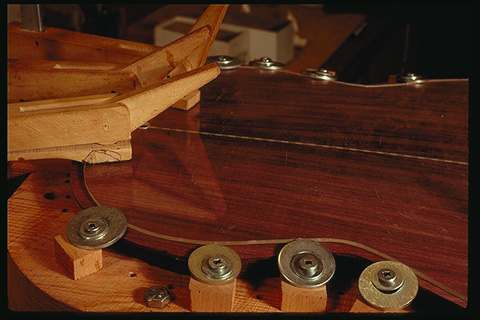
| Screws and washers are used to apply pressure to the back. The plexiglass prevents damage to the wood. | |
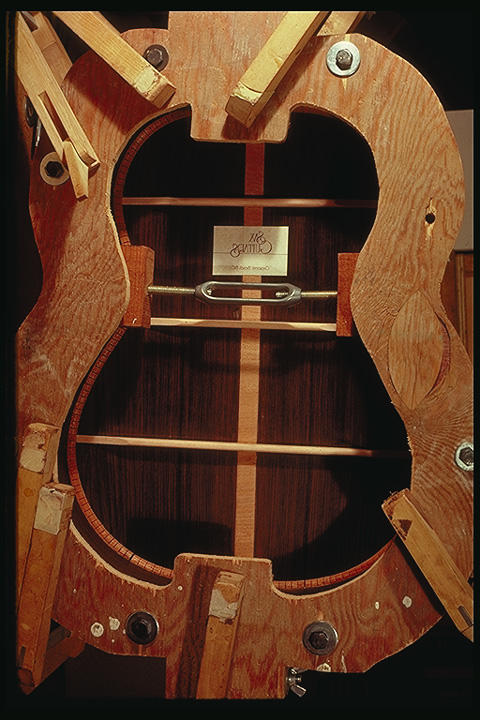
| This jig allows access to the inside of the instrument while the back is being glued. The advantage is that the builder can inspect the fit of the back, how the instrument will look through the sound hole. It also enables the clean up of an glue drips and runs while the back is attached. | |
|
The back and sides are now assembled. Notice the notches in the top kerfing to receive the braces of the top. The fitting of the top is done before the back is glued to the sides. |
|
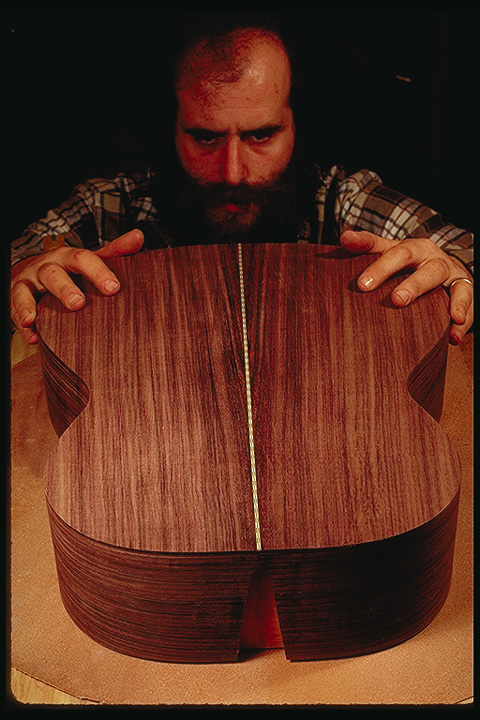
| Here's another view of the side and back assembly. Notice the dovetail mortise in the heel block. | |
© Copyright, Shel Sax, July 2001. No reproduction without
authorization.
Photographs by Howard Rossman